Design Constraints:
The bottle cover should be made simply and be simple to use.
It should passably camouflage a mundane beverage bottle and allow for the
bottle to be poured or drunk from with minimal extra effort to using the using
the uncovered bottle. I believe that the design will work for a 1 litre pop
bottle, though it looks better on the styles with a tapered neck rather than
a domed one. In my designs the bottle cap is intended to stick out above the
top of the cover so that it might be simply removed and capped as well as
drunk from. A slight gap between lid and gap can also let you know what is
inside.
The Photographs:
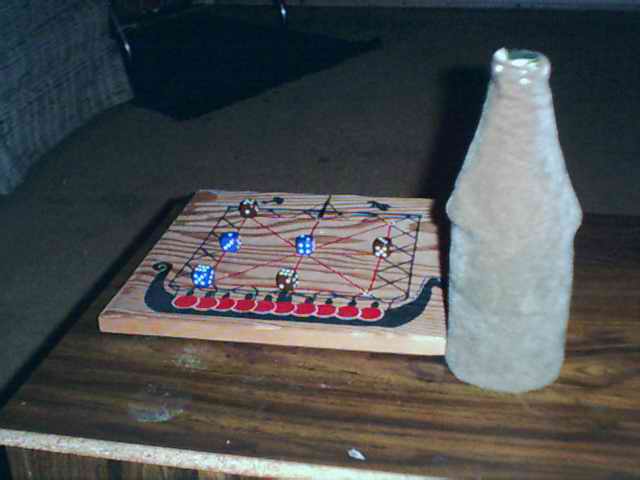
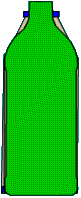
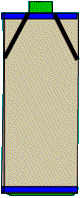
This first image shows
the second bottle cover. It is made of an odd fuzzy fabric with some give.
It was designed around a 750 ml glass coke bottle but in the picture it is
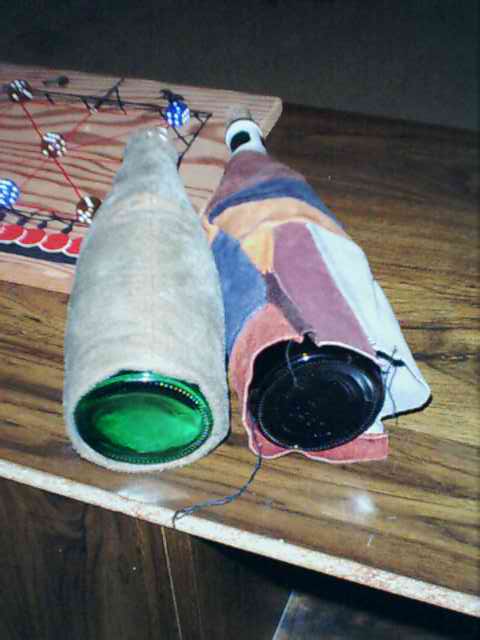
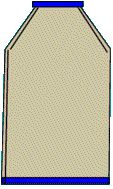
shown on a Perrier Bottle hence the slightly poor fit. The second image shows the first
bottle cover that was patched together from garment leather scraps and also
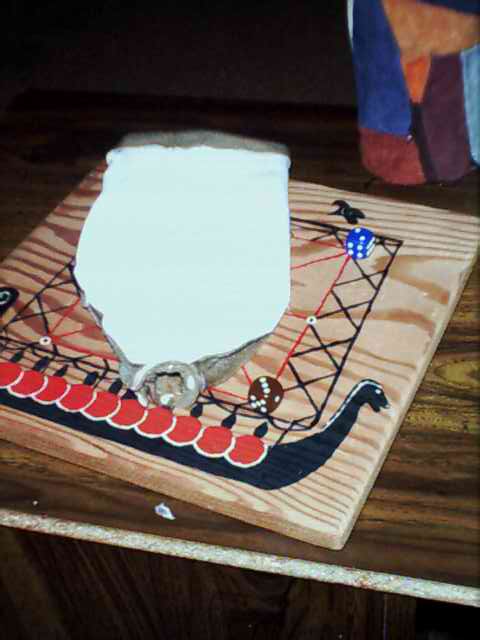
fitted to a coke bottle. It is being modelled by a wine bottle. The third shows the open bottom
of the design. I've never had a problem with the bottle slipping out. But
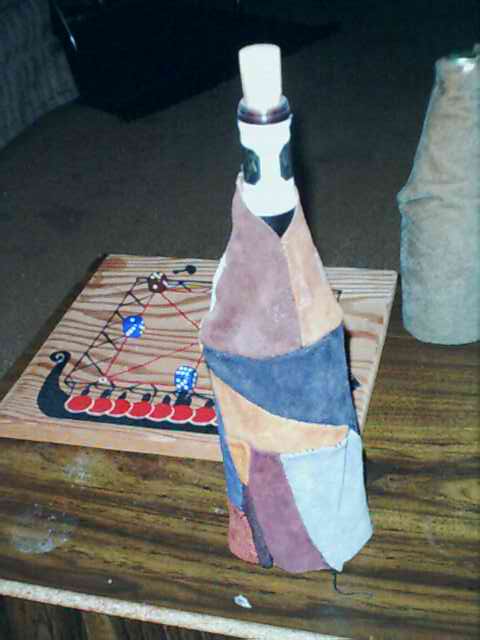
then when I pick the bottle up I grasp the bottle through the cover. The fourth image shows the cover
off the bottle and lying flat. The
fifth image shows the cover inside out. In the background of the photos
is a 3-Man Morris board that I made years ago.
|
The Second Prototype
The Bottle Bottoms
Inside-out
|
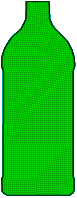
The First Prototype
Off the bottle
|
Construction:
These covers should be made to fit whatever bottle you will be covering
with it.
Step #1 Measuring and cutting:
In the illustrations I show the inside, or wrong side of the fabric
in a tan colour, the outside, or right side of the fabric is shown as blue.
You should measure the height of the bottle and it's circumference. Leave
an extra 1/4 to 1/2 inch for hemming up the top and bottom edges. (In prototype
#1 I didn't not finish top or bottom edge. In prototype #2 I only finished
the top edge as the fabric did not seem likely to fray... and I forgot.)
You should also leave 1/2 or more inches of extra fabric above the measurement
for the circumference at the widest part of the bottle. For the 1 litre
style bottle I have, that would give a circumference of 10 inches. I added
an inch for seam allowance requiring the fabric to be 11 inches wide. (I'm
not so confident with my seam sewing.)
For a 10 inch tall bottle, I added 1 inch for top and bottom hem and subtracted
1 inch for the cap.
|
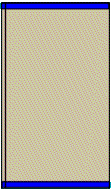
Bottle
Cut-out fabric, back side

|
Cut-out fabric, good side

|
Step #2 finishing the edges:
I started by folding over the top and bottom edges and pinning them in
preparation to sewing the hems. I did this at this point because once sewn
into a cylinder it would be much more difficult to sew them with a machine.
Perhaps this might be good even if hand sewing. I sewed the hems removing
the pins. It might be good with some fabrics to iron the hems at this point.
Step #3 forming the cylinder:
The next step is to fold the fabric in half so the unhemmed edges meet.
The good side of the fabric could be on the inside. You can pin the edge
together and then sew this simple straight seam.
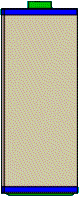
|
Top and bottom hemmed

|
Folded in half, Side seam sewn
|
Step #4 tailoring to the neck:
The formed cylinder should now be placed over the bottle inside out with
the good side inside. pinch the fabric together on both sides of the neck
and pin it with the side seam being in the centre of one of these tucks.
Remove the cover from the bottle and sew along the pins to create the truncated
cone of the bottle neck. Carefully cut away the excess fabric. You could
iron the seams at this point.
|
Inside-out cover put over bottle
Showing how it follows the bottle shape
|
Pin the fabric in order to shape
it to the bottle neck
Removed, flattened, sewn, and trimmed
|
Step #5 trying it out:
Turn the cover right side out and slip over the bottle. If it doesn't quite
fit you can probably fiddle with it, perhaps redoing one of the tailoring
seams or perhaps lengthening or shortening the cover at the bottom edge.
Finished?
You might want to decorate the cover with some embroidery, appliqué,
or perhaps fabric paint. Anyhow it is now usable and finished. Enjoy!
|
Right side out and back on the
bottle
|
Feel Free to Decorate it
|
